Solo hiking
Falls to Hotham Alpine Crossing in 2023
(Travel Guide)
Falls to Hotham Alpine Crossing might just be
the most idyllic multi-day walk
you’ll find in the Victorian high country!
Pristine landscapes, wildflowers galore and stunning night skies.
About the Falls to Hotham Alpine Crossing multi-day hike
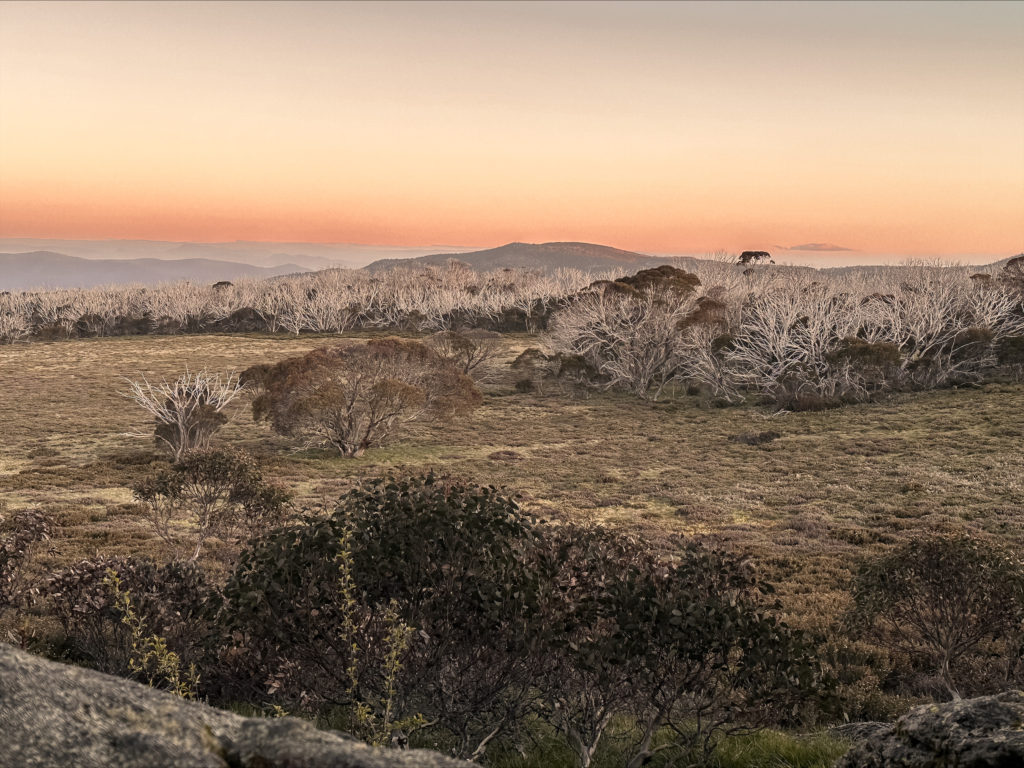
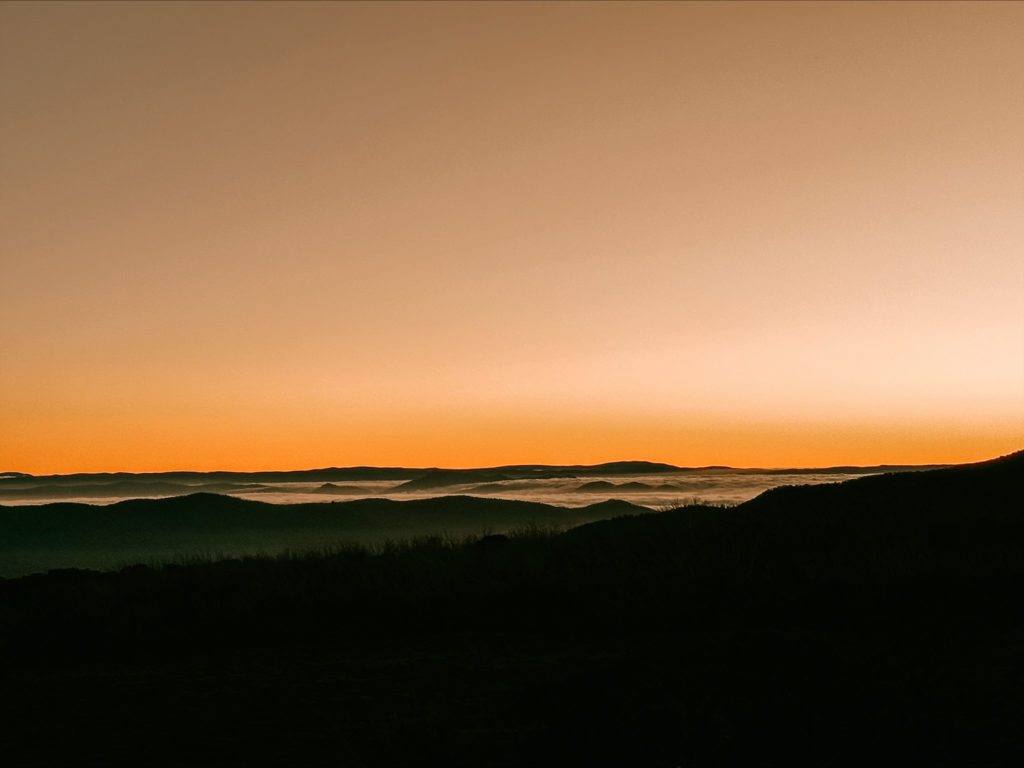
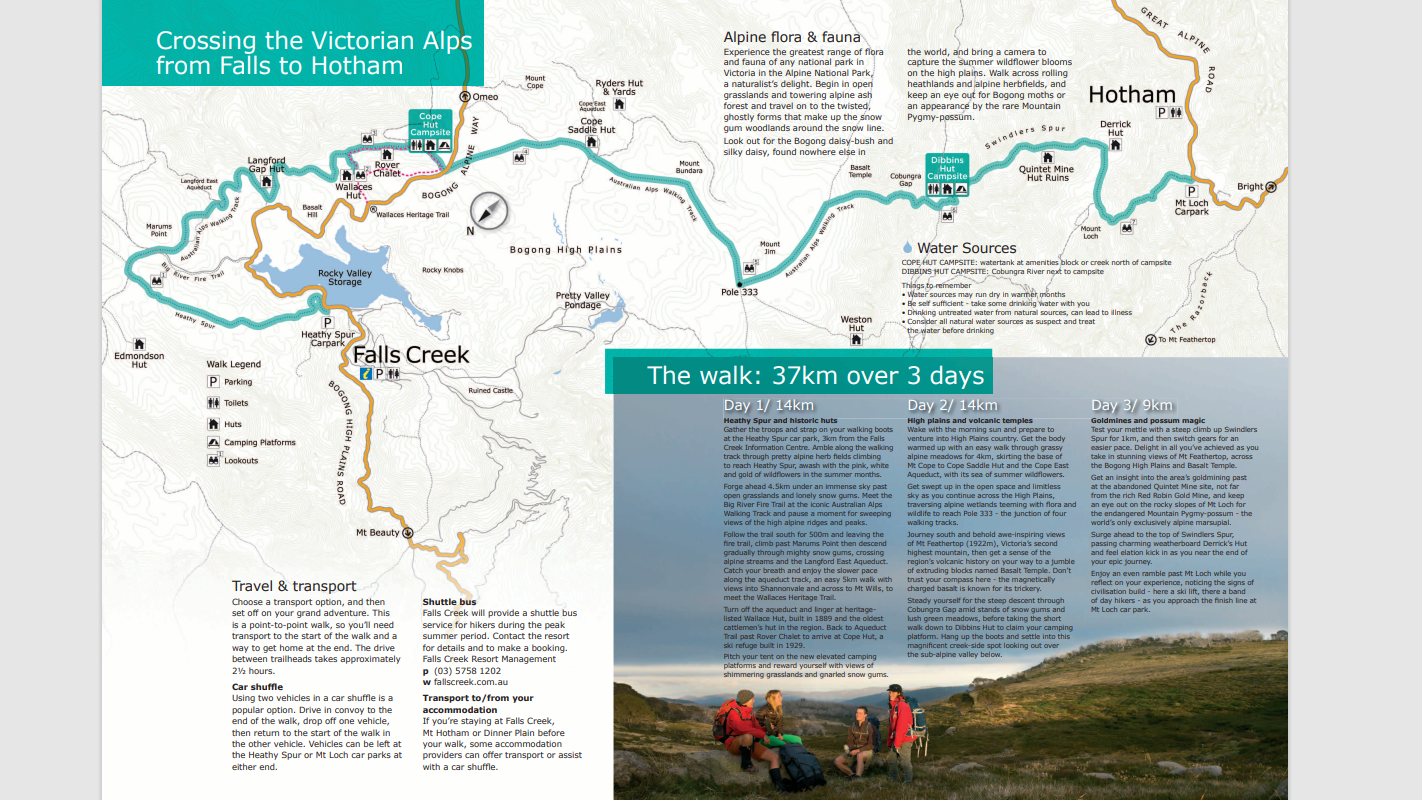
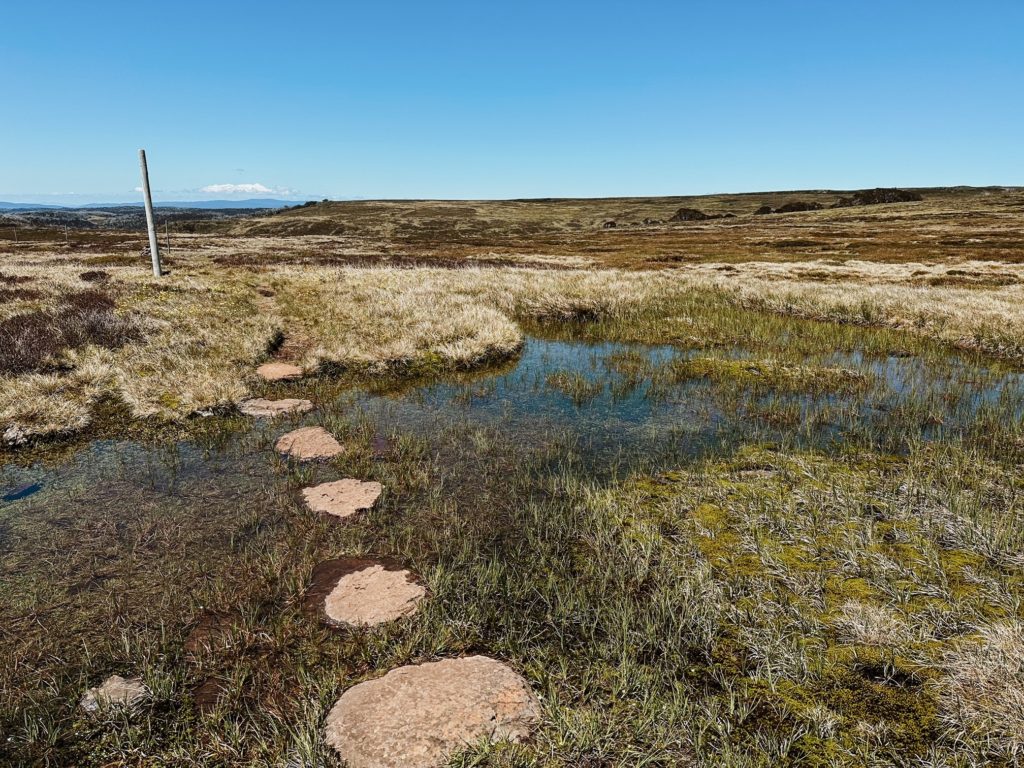
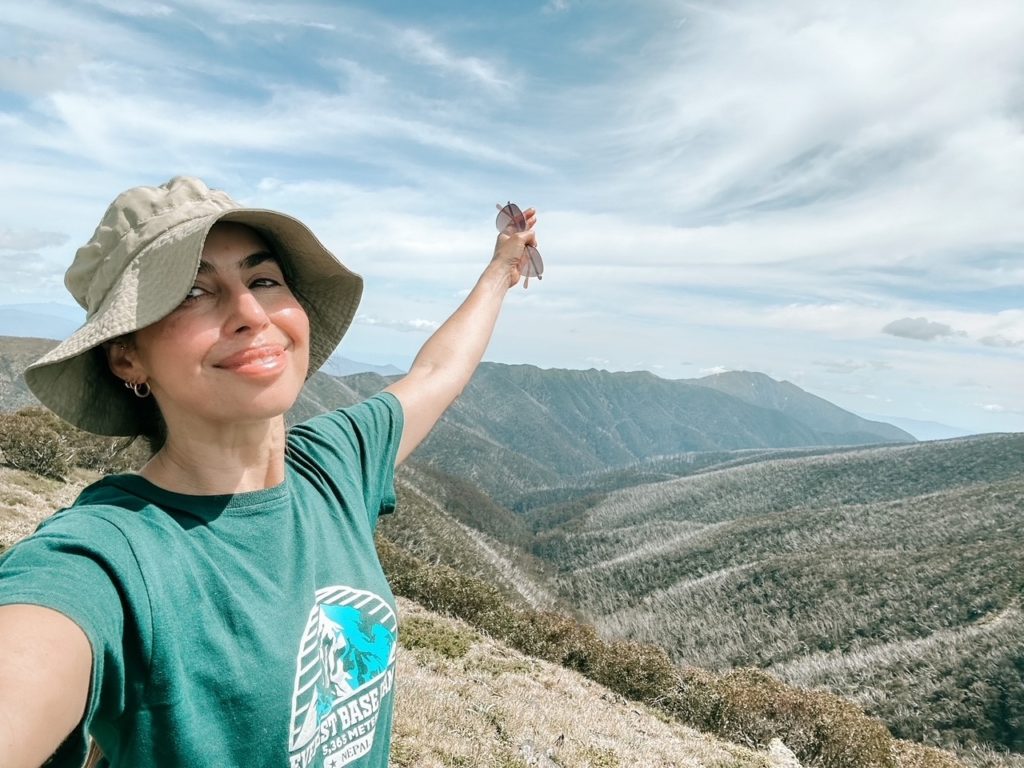
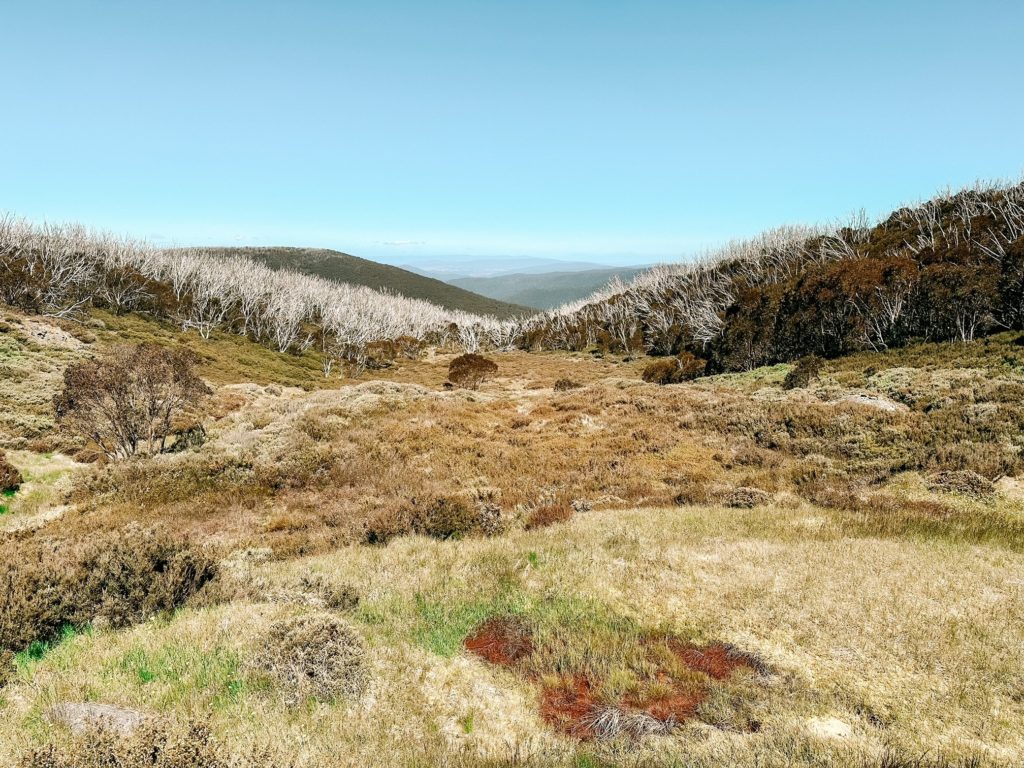
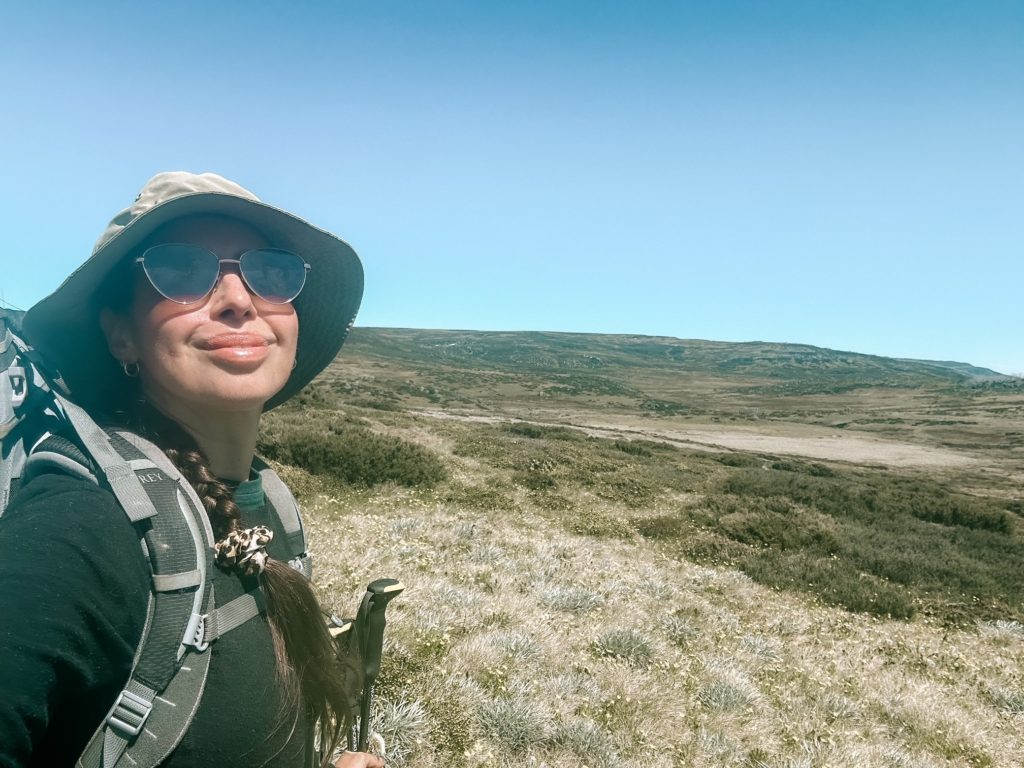
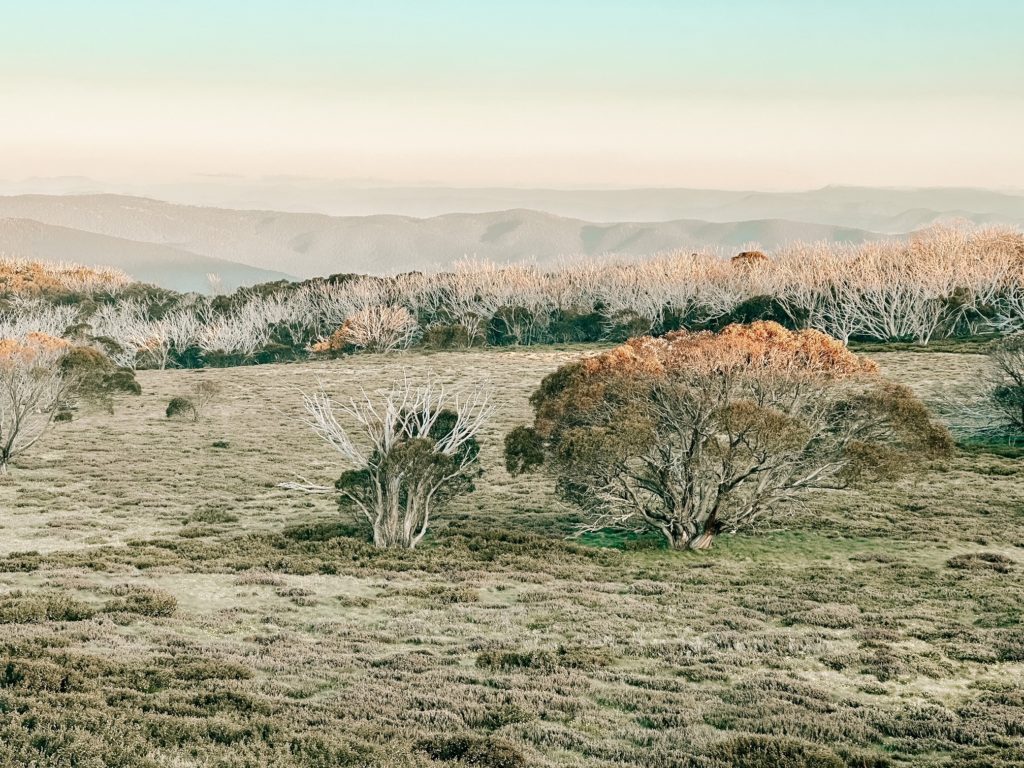
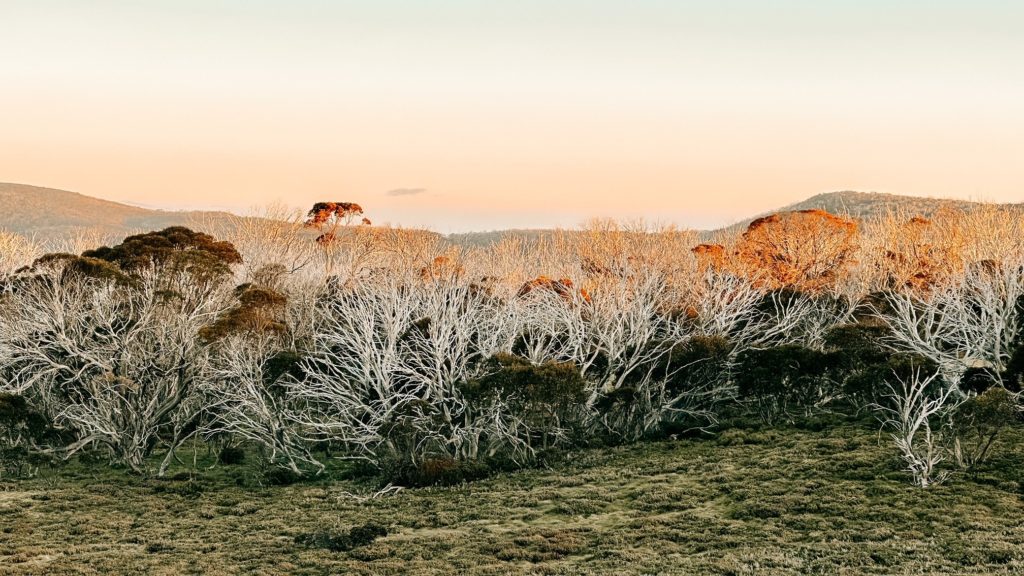
The Falls to Hotham Alpine Crossing is a 37km three-day hike through the Alpine National Park in the Victorian Alps from Falls Creek to Mt Hotham, Victoria in Australia. The trail sits at around 2000m above sea level and takes you along picturesque alpine ridges through snow gum woodlands and snow grass plains.
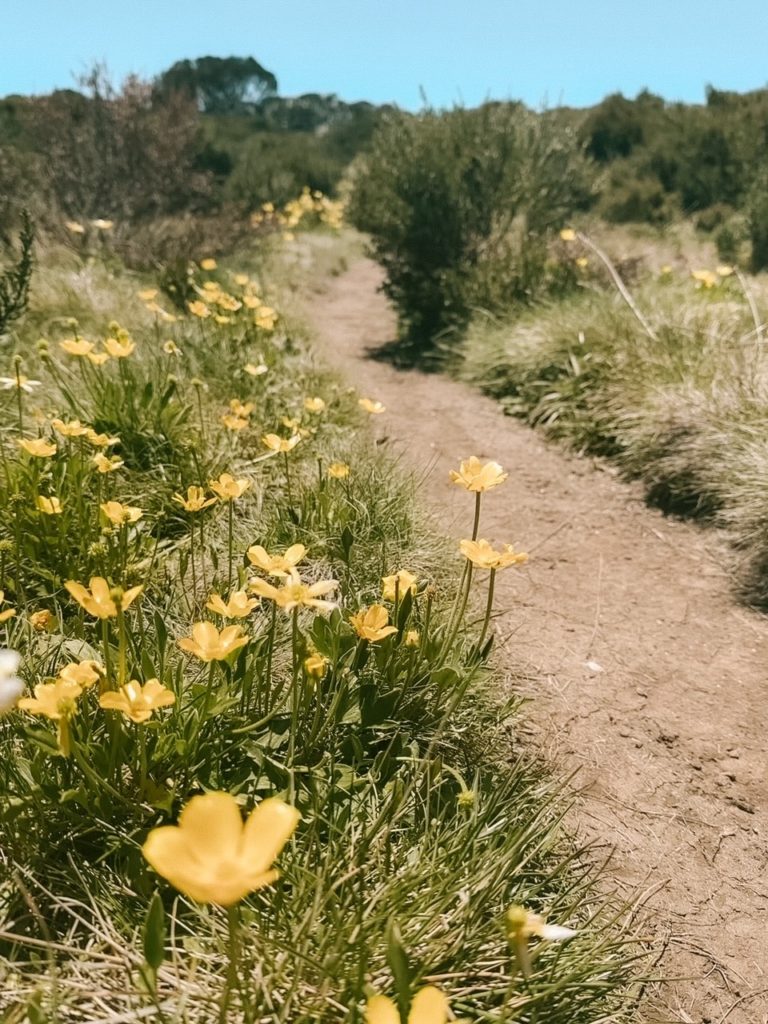
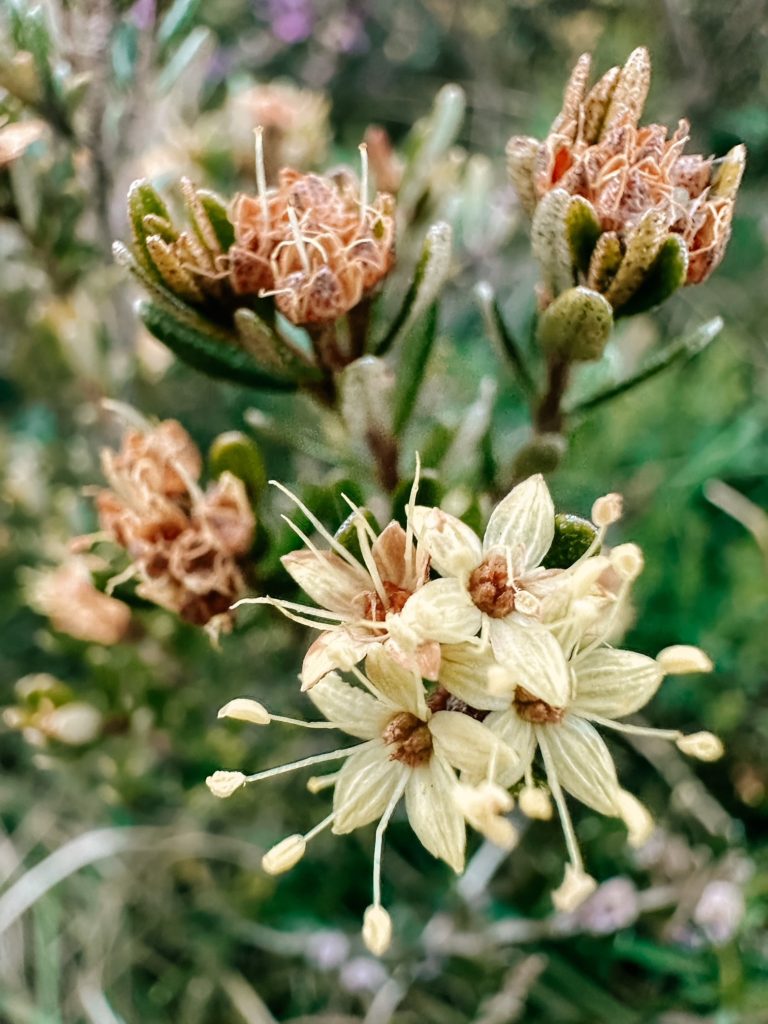
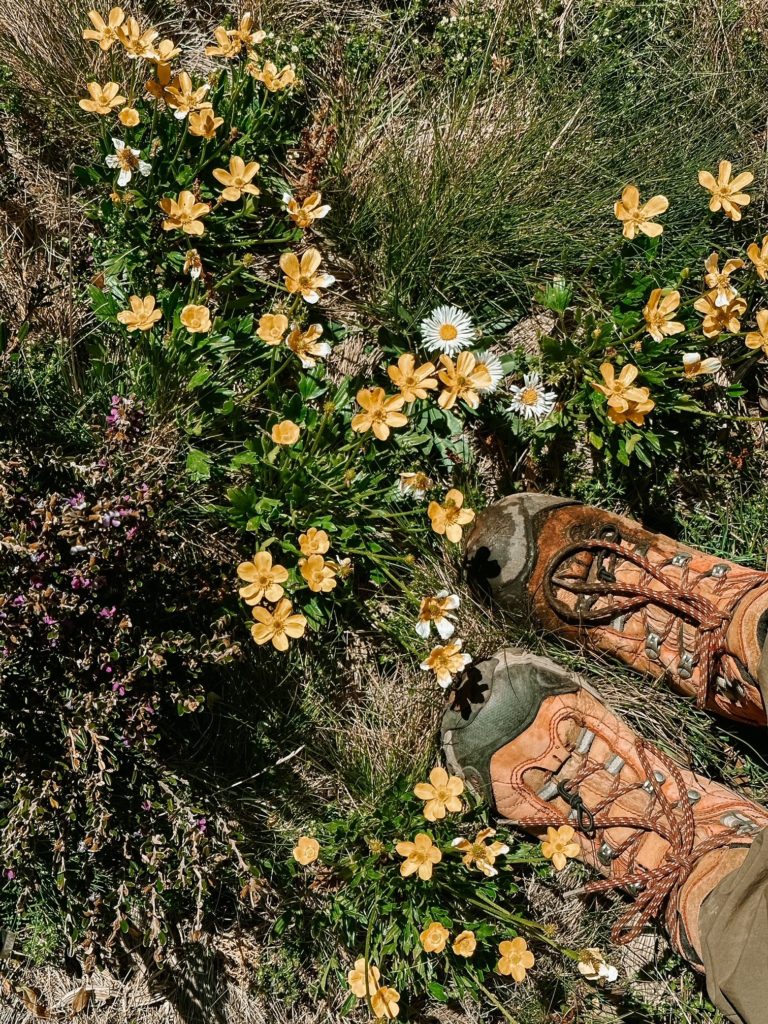
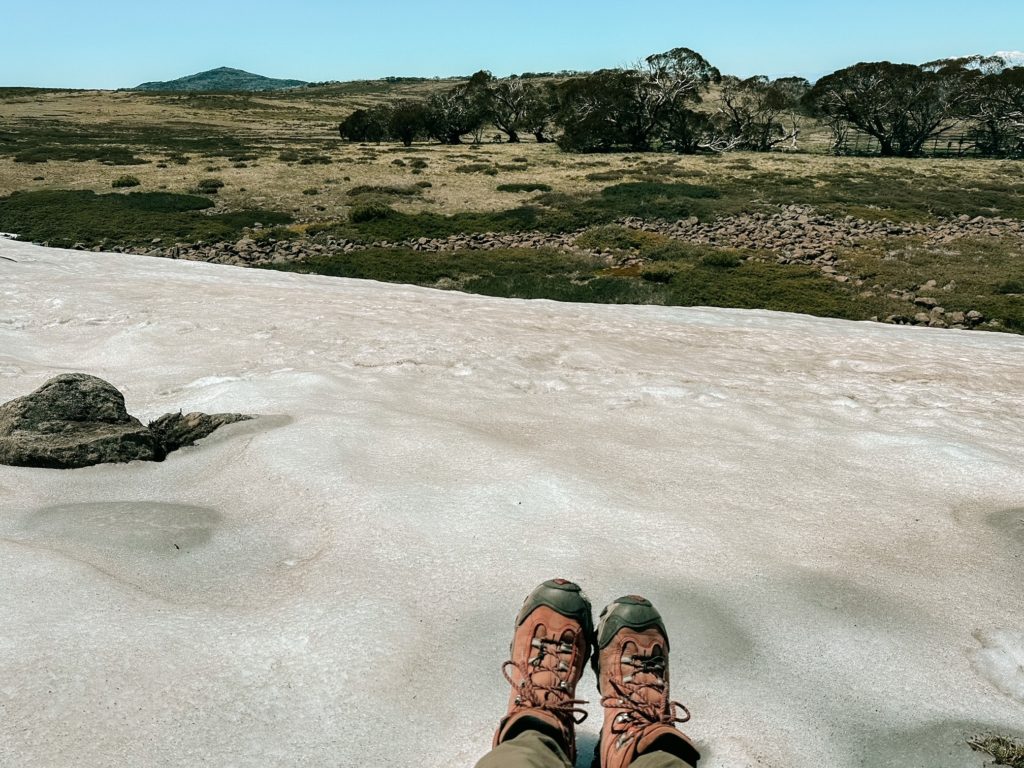
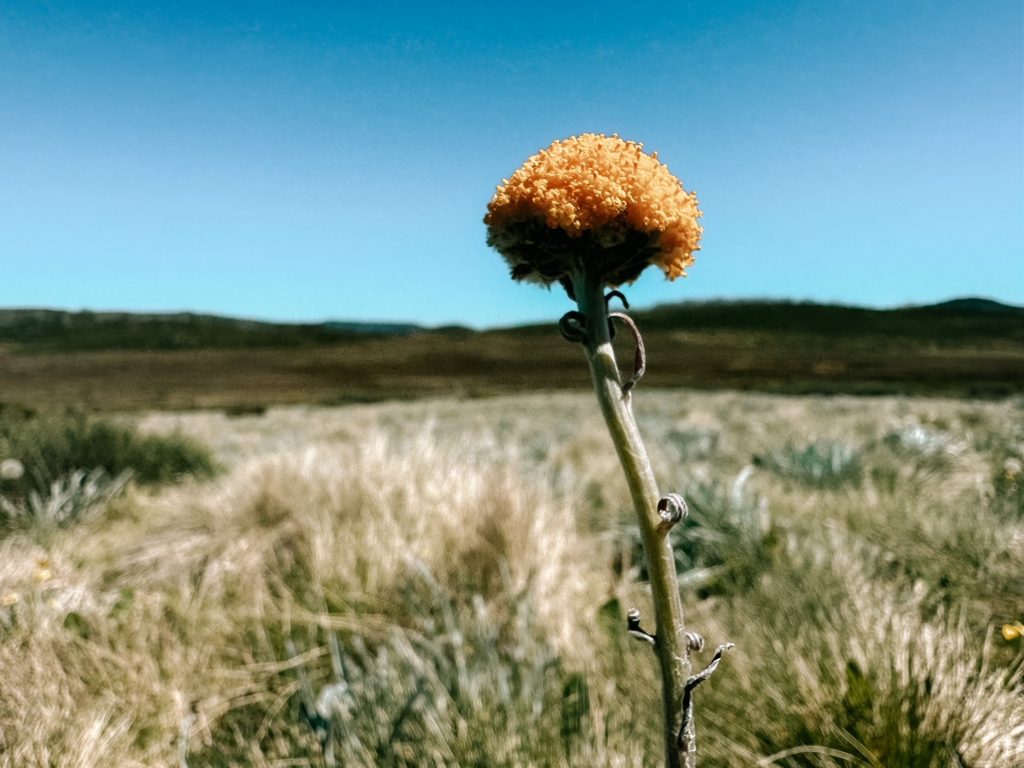
When hiking this trail during Summer I encountered a ginormous patch of SNOW and there were MASSES OF WILDFLOWERS the whole way which added to the variety and beauty of the experience.
The trail is divided over three very reasonable sections:
Day 1: Falls Creek to Cope Hut, 14km
Day 2: Cope Hut to Dibbins Hut, 14km
Day 3: Dibbins Hut to Mt Hotham, 9km
I solo hiked Falls to Hotham Alpine Crossing in this order, however you could most certainly do the reverse.
If you’re new to multi-day hiking check our my getting started guide HERE!
How to get there
Mt Hotham is about a 4.5 hour drive from Melbourne. Make than 5 hours in my van!!
I left my van at the end point, namely Mt Hotham Information Centre. The town is really small so you can’t miss it, but just in case the address is 28 Great Alpine Rd, Hotham Heights. From there I caught a shuttlebus to the starting point at Falls Creek. The usual road between My Hotham and Falls Creek is currently closed due to a landslide and word is it will take a while to clear. So, unfortunately it’s a pretty long drive, at least 3 hours to get between the two locations now.
I went with Snowdog Shuttles who I highly recommend. The fare was $80 with an 8am pick up at Mt Hotham. Hamish who runs Snowdog is a really decent guy and responded quickly to my emails. Even with my very last-minute plans! (Not sponsored).
When to go
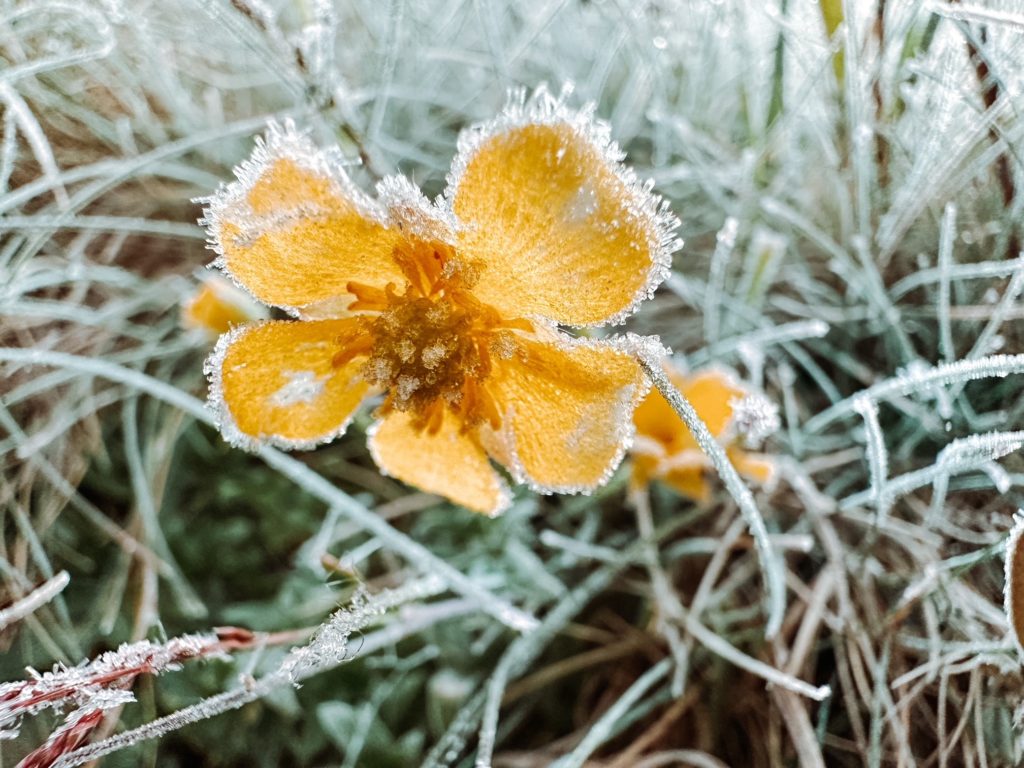
For me this is a no brainer! Summer is THE best time for the high country! There are wildflowers galore and you will encounter the best weather. I went in late December and encountered pleasant temperatures in the low 20s during the day and around zero overnight.
Technically, November to April is A-okay to walk this trail. Outside of that it would likely be under snow so pack your snowshoes. In saying that, I did do an overnight hike with snowshoes at My Baw Baw last year and I think this trail would be a pretty good candidate for that.
Where to stay / Camping on the trail
Given the early shuttle out of Mt Hotham, you are probably best staying in the area. I had my van so parked at a lookout for the night before. However, Bright is not far off or you could stay in Mt Hotham Village itself. Or, given you will have a tent for the walk, word is there is a nice little campsite with easy access at JP Plain Hut which is a short distance past Mt Hotham Village.
On the trail itself there are two ‘official’ campsites, Cope Hut and Dibbins Hut. Each campsite has five tent platforms positioned with lovely views, water tanks and pit toilets. You do need to book these sites; current cost is $17.40/night per site.
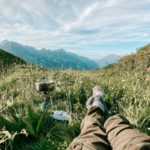
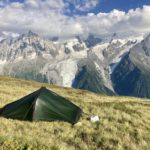
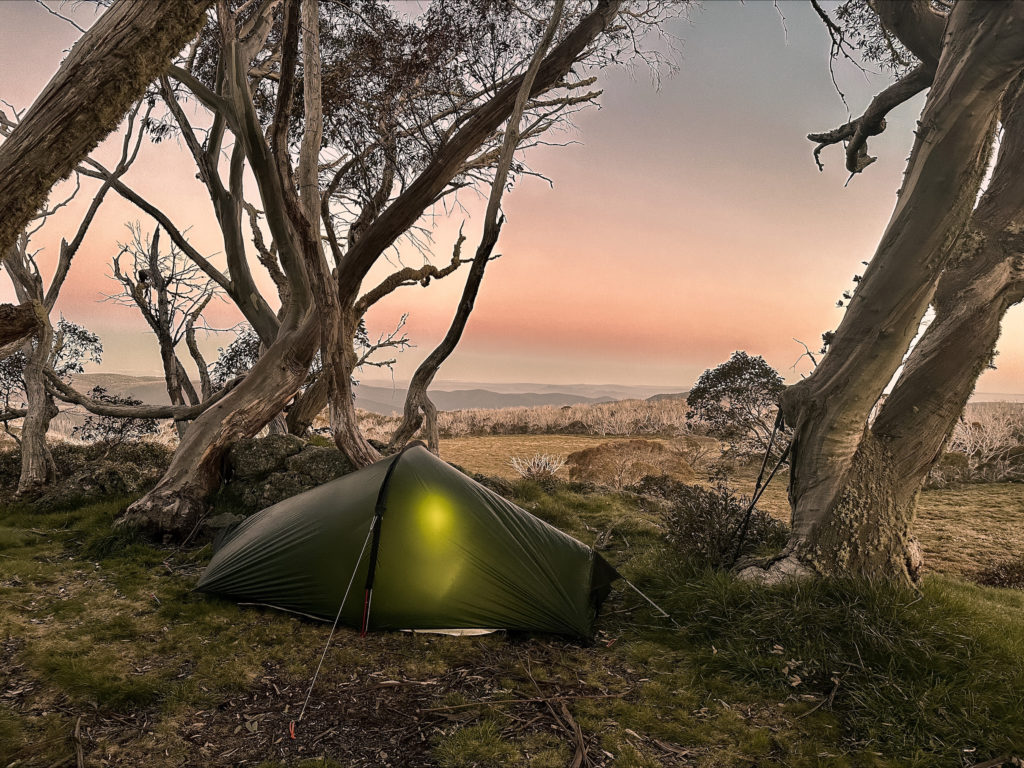
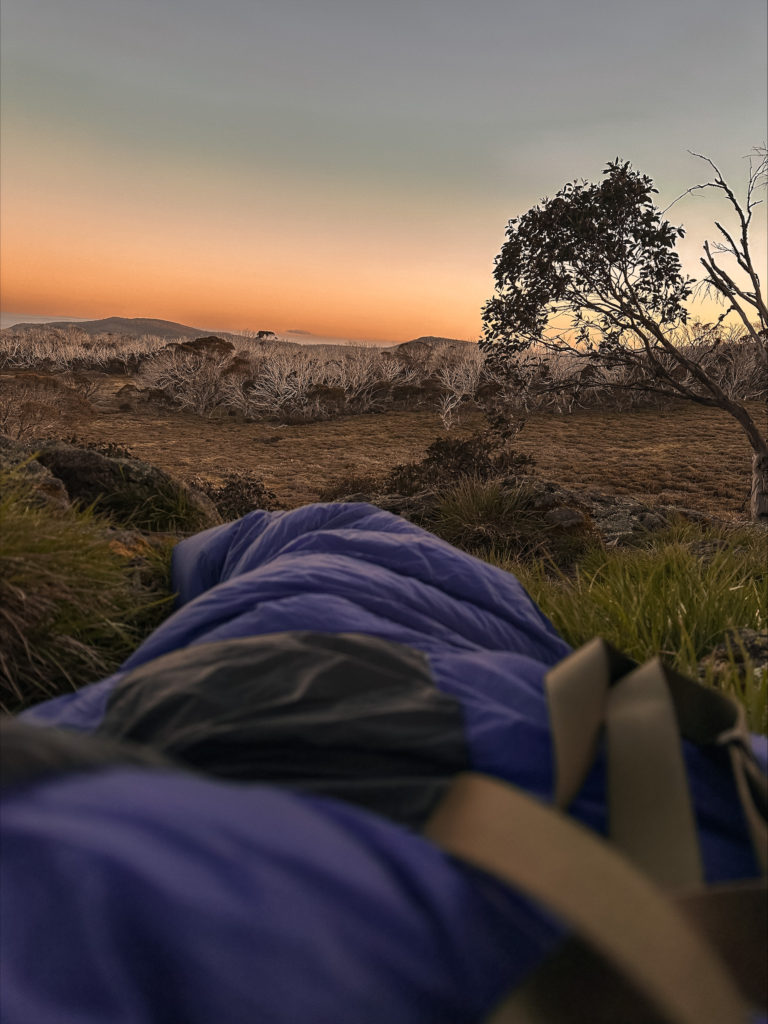
BUT, the best part, dispersed aka wild camping aka freedom camping is allowed in the Alpine National Park away from these camps. Woohoo!!! So, this is what I chose to do. I found beautiful spots underneath the snow gums. Of course, leave no trace!
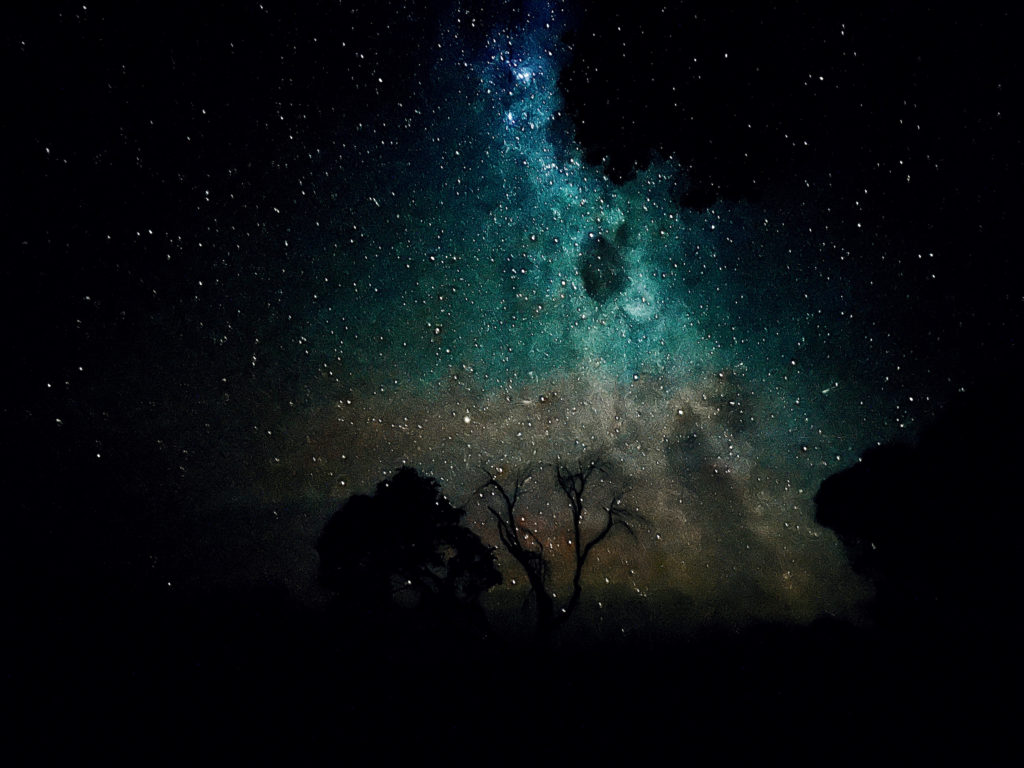
Plus, the STARS were out of this world!! Some of the clearest and most beautiful night skies I’ve seen!!
How hard is it?
I’ve done some epic trails, ie The Overland, Mont Blanc and Everest Base Camp, so I’ll be straight up and say this walk is not remotely in that kind of EPIC category, but it is a delightful and pretty walk that for me ticks a lot of the boxes for a great multi-day hike.
Overall, I found the terrain quite flat, with very little elevation so in that sense I would rate this walk as EASY. The last day had the most climbing but that was over quite quickly and to be honest it also made that day a little more interesting. The distances of 14km, 14km, and 9km each day are very relaxed so there is plenty of time to lie under the snow gums and soak in nature!! If you are new to hiking with a pack, this is probably a great entry level hike.
Don’t over complicate planning for a walk like this. It’s really very straightforward. I only decided to go a couple day before, as the weather was looking good.
Water
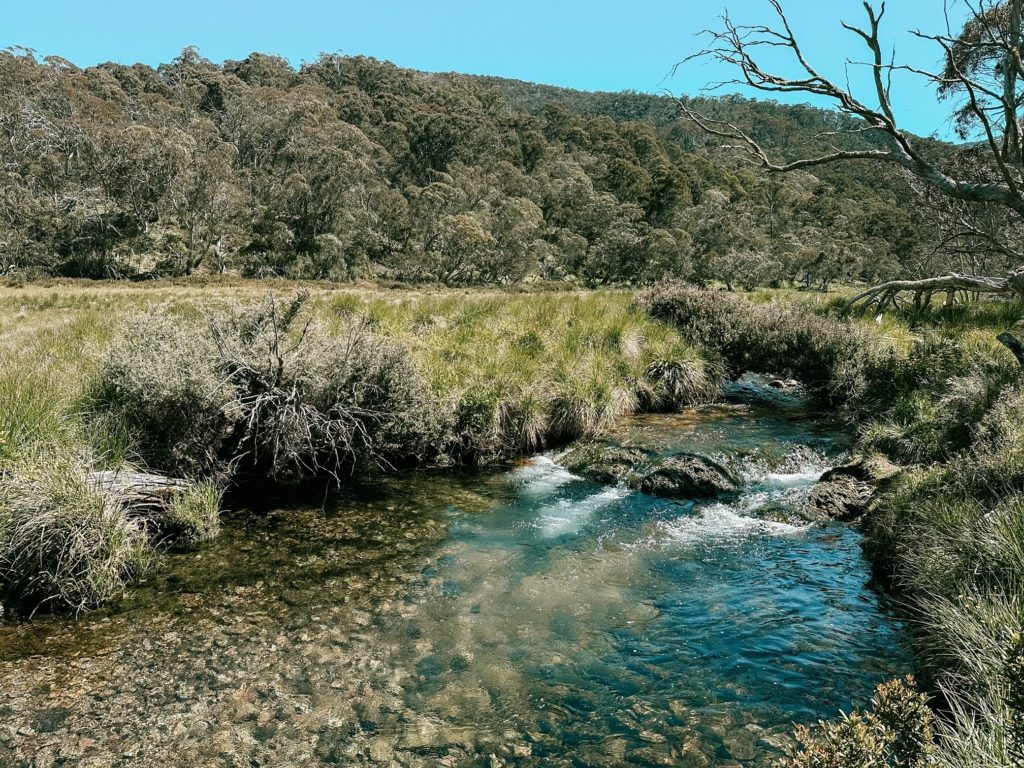
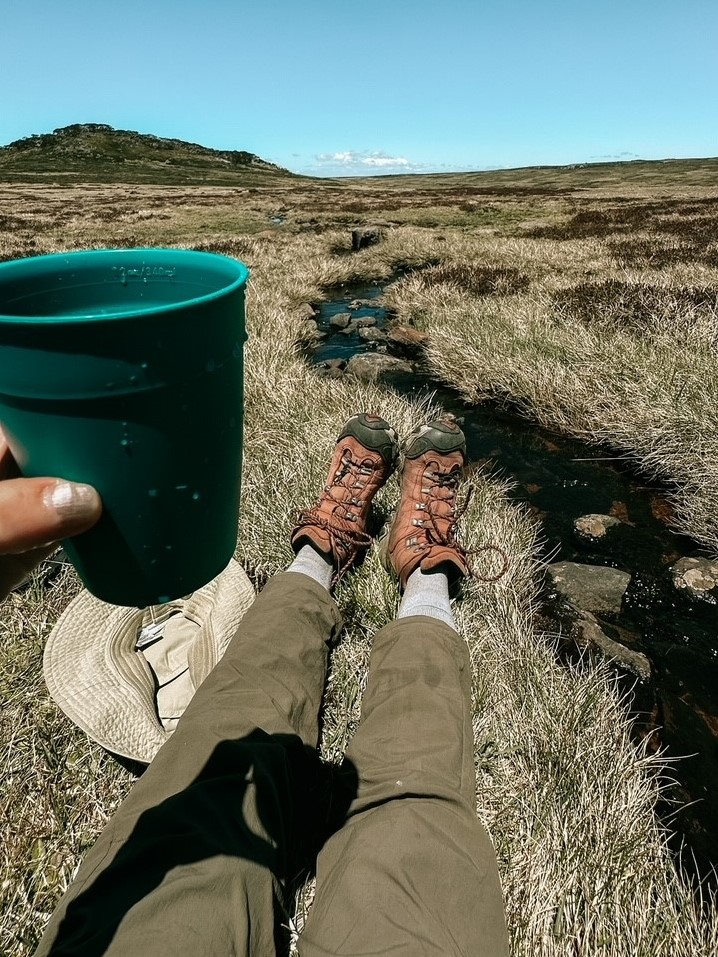
Water is readily available on the trail via aqueducts and natural springs. There are tanks at the campsites however, these were quite low. If you are worried check in with Parks Vic before you go to see how much water is available. Personally, I didn’t filter or use tablets at all and was totally fine.
If you are keen for an icy swim the creek at Dibbins Hut is great. There’s a nice deep pool at the base of a little waterfall which I spent some time in. I highly recommend it!! If you get sore feet, icy water will have your feet feeling ready to run a marathon. I do recommend wearing thongs/Teevas in the water, the pebble creek bottom is a killer on the feet.
Navigation & Safety
Safety wise, I felt extremely safe on this trail. Another couple were on the trail at the same time as me and I saw them a little bit but generally I had the entire trail to myself.
Navigation is super easy. I had the AllTrails map available and a printout of the one on the Parks Vic website but didn’t need to use them.
There is some mobile reception most of the way. Mostly 3G.
As always, I will tell you, don’t over complicate planning for a walk like this. It’s really very straightforward. I only decided to go a couple day before, as the weather was looking good.
Packing guide:
Go light- seriously!! My pack was about 6-7kg for this one and the pack itself weighs 2.1kg. If you are interested in the actual gear I use and would like to get a look at what’s inside my pack I have a YouTube video where I run through every item and weights HERE.
My pack is a 50 + 10 and I left the 10L lid behind. I could’ve used a 40L pack easily.
LIST:
Sleeping bag
Mat
Inflatable pillow
Tent + pegs
Down jacket / gortex
Thermals to sleep in
Camp shoes – thongs / Teevas
Cooking gear
Food: Breakfast x 2, lunch x 3, dinner x 2
Waterbottle
Book + journal
Hat, sunnies, sunscreen
Toiletries + toilet paper + spade
Swimmers + travel towel
Drop any questions below and if this guide has been helpful please let me know in a comment.
Would love for you to follow me on Instagram and Facebook, and SUBSCRIBE at the bottom of the Homepage.
Wash your spirit clean.”
